Dashboard
Walk Through Video
Step 1
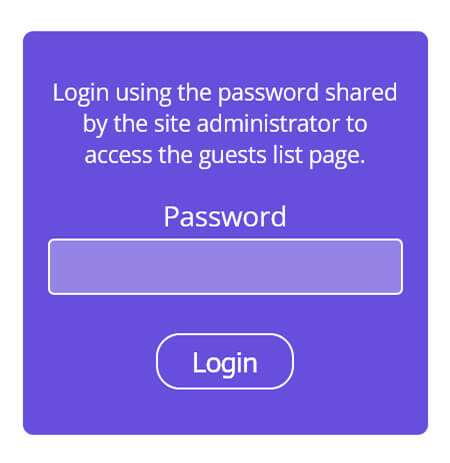
Login to the dashboard using the link and password provided by Evantocards team
Example: Click here
Password: demo
Step 2
Once logged in, you’ll land on an empty guest list page. Start adding guests by clicking the “+Add Guest” button in the top-right corner.
Step 3
-
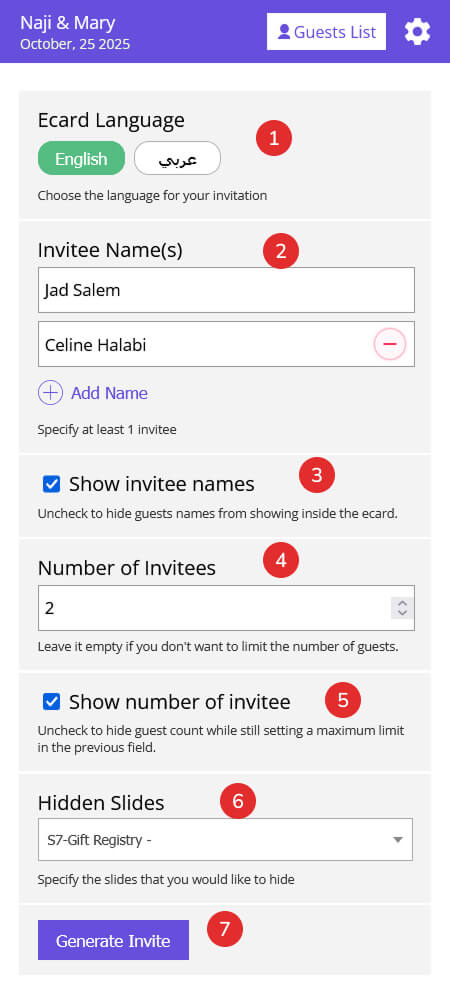
Select the language in which you would like to send the invitation (if your eCard is available in multiple languages).
-
Enter guest names you wish to invite. You may add:
-
A single person or a family name and manually set the number of invitees, or
-
Individual guest names, in which case the number of invitees will be auto-populated.
-
-
Hide guest names (optional): If enabled, guests will be asked to enter the attending names themselves. The name entered in the dashboard will be used for reference only.
-
Set the number of invitees: When a single name is entered, you can define the number of invitees manually. When multiple names are added, this number is auto-populated but can still be adjusted if needed.
-
Hide the number of invitees (optional): The limit will not be visible to guests, but they will not be able to exceed the allowed number.
-
Customize visible sections: You may hide specific sections for certain invites (e.g., the gift registry section).
- Once all details are set, click the “Generate Invite” button to generate the invitation.
Step 4
-
WhatsApp: Click the WhatsApp button to open the app and share the invitation link directly with your contact.
-
Copy Link: Copy the invitation link and send it via SMS, email, or any messaging app.
-
New Guest: Return to the “Add Guest” screen to generate a new invitation link for another guest.
Note: Each time a new invitation link is generated, it is saved in the guest list with a Pending status until an RSVP response is received.

Filter & Export
-
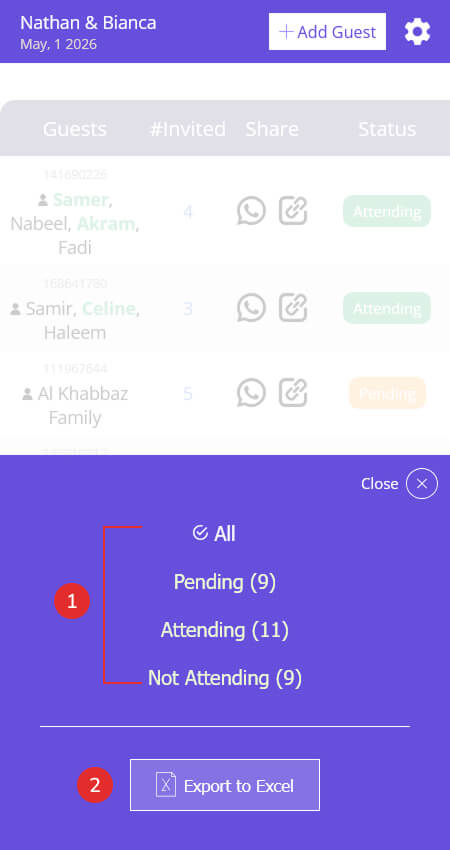
Filter: Filter the guest list by status. Next to each status, you will see the number of guests corresponding to that status.
-
Export: Export the guest list as an Excel file containing all recorded guest information and RSVP statuses.
Settings
-
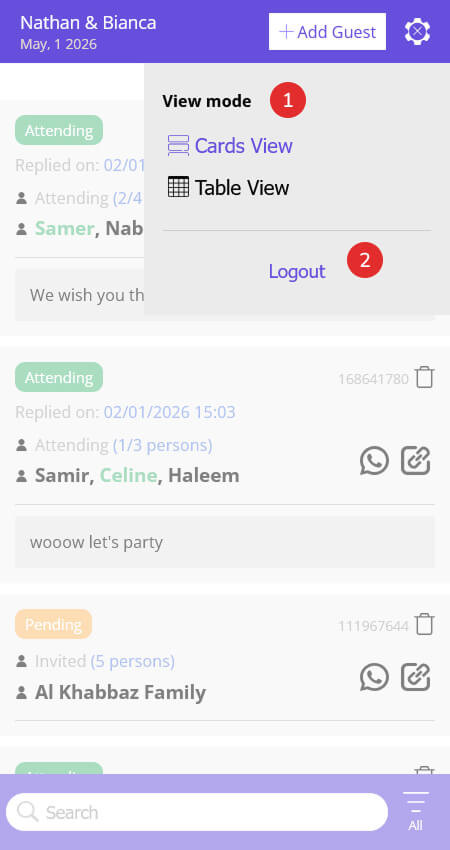
View Mode: Change the guest list display between Table View and Card View.
-
Logout: Log out of the dashboard.